
This article will cover the process of creating installation media with three different installation media creation Softwares (Rufus, Make startup disk and BalenaEtcher), once you have finished this article it will enable you to boot from a USB stick with your the OS that you wish to install.
There are other ways to do this but in this article I cannot cover them all since in that case the article will be quite long.
1: Rufus:
This installation media software is operational only on Windows OS
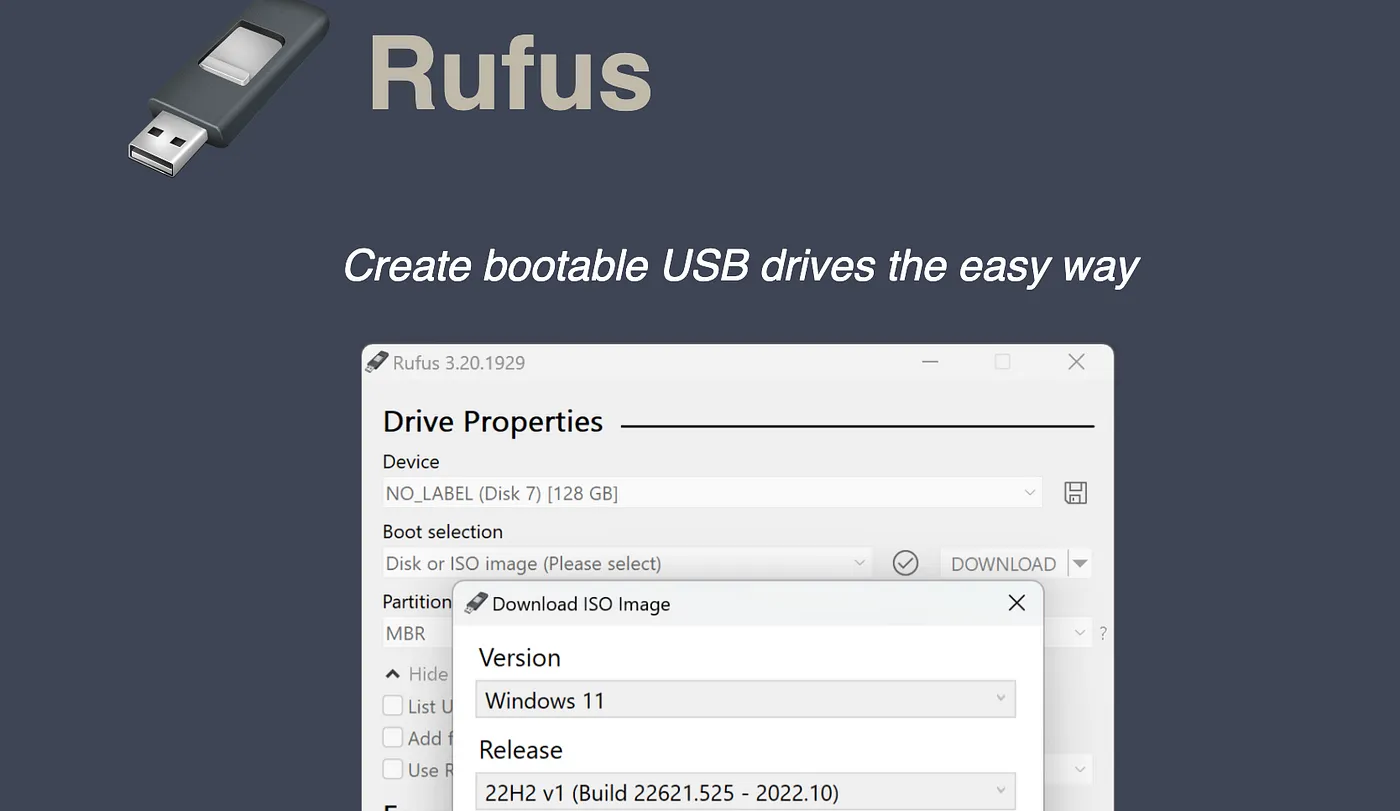
Rufus is supported on Windows operating systems 8+
1.1: Head over to the official Rufus website, you can just type “Rufus software” and it will show up, or head over to: https://rufus.ie/en/
1.2: Download and run the appropriate EXE depending on your CPU type (Arm = ARM64/intel = x64 or x86)
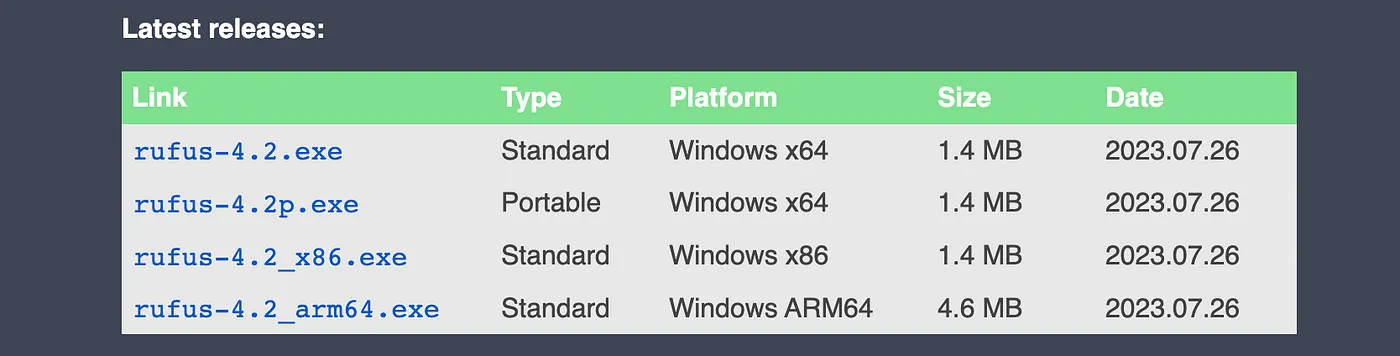
Note: try not to click on any ads that say “download” or “click here”
1.3: When you run the EXE, you should see this menu
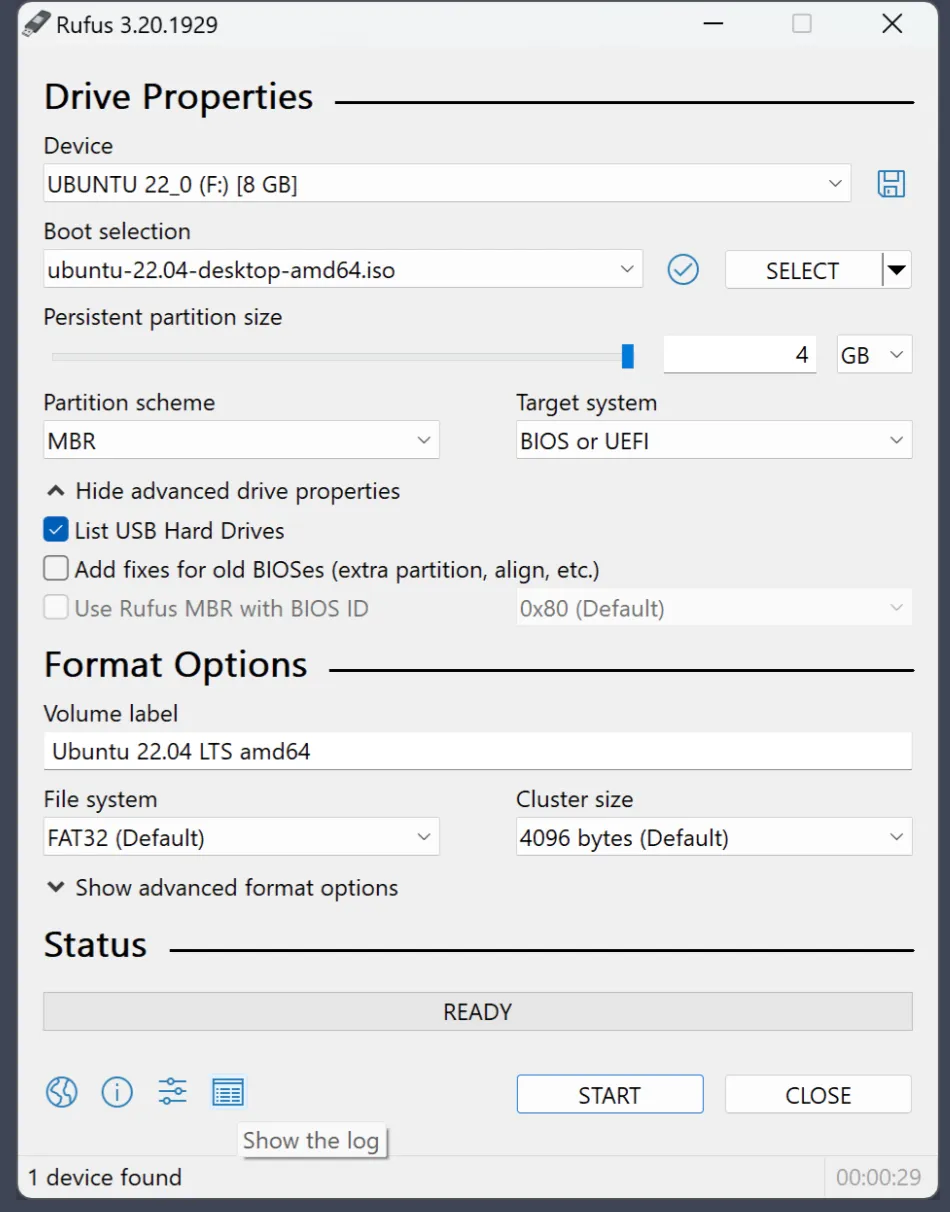
1.4: Now I will explain what each of the inputs are;
1.4.1 DEVICE: This will be the USB stick that you want to make “bootable”, you will boot from this usb when installing the operating system on your computer, during this process the USB will be ERASED.
1.4.2 BOOT SELECTION: as you will see, yours will have “Disk or ISO image (please select)”, what you need to do is click on the “select” button and it will ask for a file, in which you must select your ISO file, in this case it will be UBUNTU 20.04, but you can select your Operating system, you can download their ISO from their official site, that green/blue tick will indicate if the ISO file is good (isn’t broken) to use.
1.4.3 PARTITION SCHEME: there are two options here, MBR (The master boot record) or GPT (GUID Partition Table), here is some further docs, !you should check the partition scheme of the machine that you will install your operating system on!, if you are using an empty new Hard disk and the capacity is less than 2TB then it will be best to use MBR, and if more, then is the best GPT, also older computers use MBR and newer computers use GPT and finally Use MBR if your system runs on legacy BIOS Use GPT if your system runs on UEFI
1.4.4 Target System: The target system type refers to legacy BIOS and UEFI, again, check if your computer runs on on legacy BIOS or UEFI and select accordingly. Legacy BIOS is used in old machines and UEFI is used on newer machines.
1.4.5 Volume Label: This will be the new name of your USB stick after making it bootable
1.4.6 File system: Usually Rufus might set the default to NTFS but make sure you use FAT32.
1.4.7 Cluster size: usually stick to the default, (the default Cluster size in Rufus for the version 18.04.2 LTS amd64 of Ubuntu Desktop is: Cluster size: 8192 bytes (Default))
“we’ve learned that the best USB format to boot Windows is FAT32. This file system is portable across many operating systems, including Windows, Linux, Mac, Android, Chrome OS, PS3, PS4, Printers, Xbox 360, etc. FAT32 is also portable across most USB drives, unlike NTFS and exFAT.” ~ from google
1.5: Once you have filled in the appropriate settings you may click “start”, this will erase your USB and transform it into a bootable USB stick,
1.6: Once the Green status bar says ready you may click close and now you have a bootable usb!!!.
2: “make startup disk”
This program is only operational on Ubuntu (other linux distro’s/older ubuntu versions will have their own version)
2.1: In most cases this will be pre-installed on your operating system,
2.2: Once you open it then you should see this menu
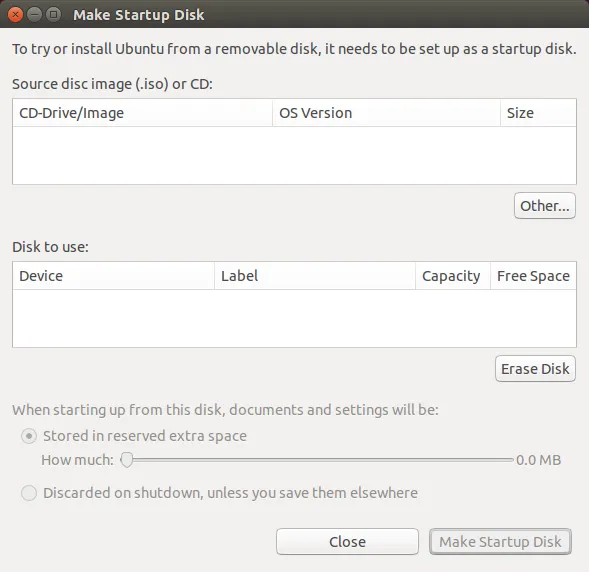
2.3: As you can see this is much more straight forward compared to Rufus, “Source disc image” is the ISO of the operating system that you wish to install, and “disk to use” is your USB stick,
2.4: First click “Erase disk” to erase the contents of the USB stick,
2.5: Then proceed with “make startup disk” then you may click “close”,
2.6: Now you have a bootable USB stick that is ready to use as installation media!!
3: BalenaEtcher:
This program operates on almost all operating systems (excluding some OS’, usually Unique linux distros such as RaspianOS)
3.1: You can install BalenaEtcher Via their main site (type BalenaEtcher download or head over to https://etcher.balena.io/),
3.2: Balena (the main company) offer many tools so make sure you specifically get “etcher” which is their flash tool.
3.3: Download the installation file and install it
3.4: you should see this UI on opening of the program
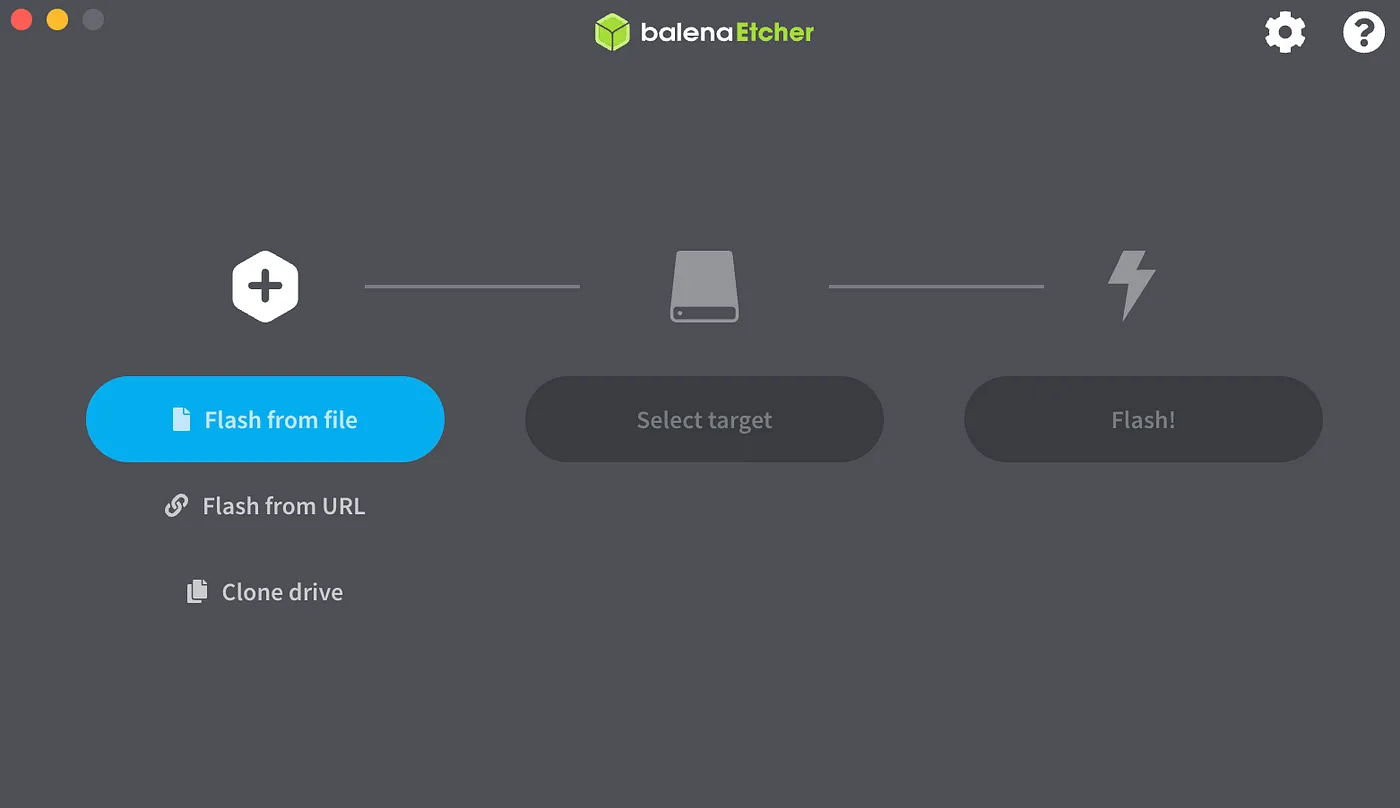
3.4: Once again this is pretty straightforward compared to Rufus,
3.4.1) the first button (flash from file button) will ask for your ISO file
3.4.2) Then you will select your “target”, this will be the USB that you wish to make “bootable”
3.5: now click “flash”, after the operation is complete, then you now have. a bootable USB stick that is ready to use as installation media!!
The End.
Thank you for reading this to the end, this is my very first article on Medium docs (or anywhere for that matter), i hope this has helped you in some way, I give my best wishes to you and your project, and i hope to write more in the future, Danke shöne meine freunde!!! Thank you my friends.